Clause 3 – How to Understand the Definition of “visibly glowing heating element”

visibly glowing heating element: heating element that is partly or completely visible from the outside of the appliance and has a temperature of at least 650 °C when the appliance has been operated under normal operation at rated power input until steady conditions have been established.

The heating element needs to be able to emit light and the light needs to be visible, it is also required that the temperature of the heating element exceeds 650°C. Often when measuring temperature, we measure the temperature at the hottest location, for example, getting the temperature at the surface of a heating element. When testing, please note that it is important to use a thermocouple that is resistant to high temperatures and also to ensure that the calibrated temperature range of the thermocouple covers the temperature being tested.

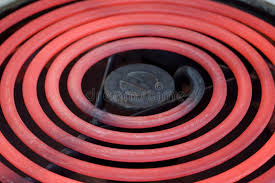
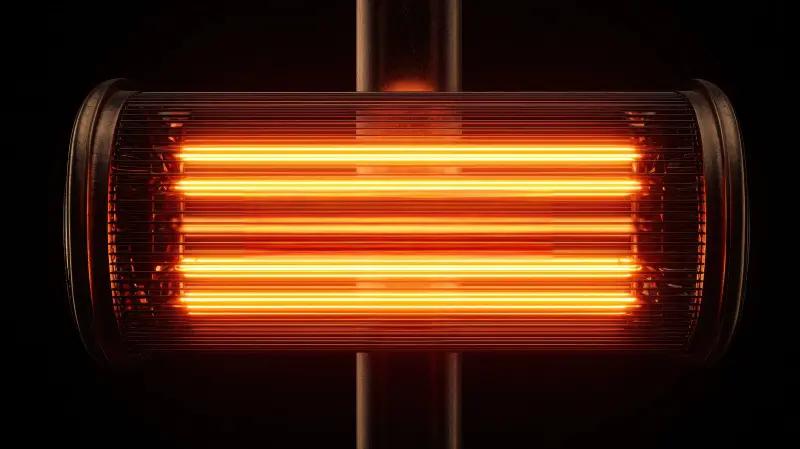
If you have done the clause 30.2 glow wire test then you should have experience that at 650°C the glow wire is non-luminous and only at 750°C does it emit a dim light. Of course, the luminous properties of heating elements may be different from those of a glow wire. Here are some photos of a typical visibly glowing heating element.
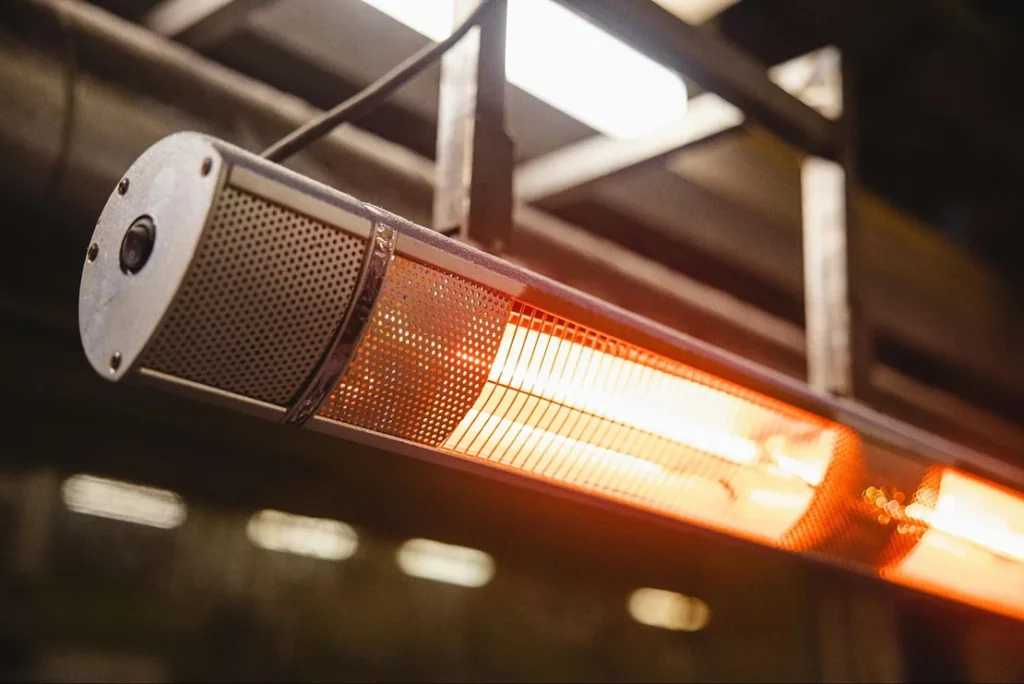
visibly glowing heating element for high position installation
close up view showcases electric infrared heater glowing intensely warmth shot heating element emitting warm
Dark red heating element

This visibly glowing heating element is a warning to the user of the product, and therefore the test requirements are a little more lenient during the subsequent clause of the test.

There are some glowing heating elements that emit light that is not particularly bright, but as long as they emit light and the temperature exceeds 650°C, they can also be defined as visibly glowing heating elements. However, the two photos below show heating elements that, in my experience, should not be considered as visibly glowing heating elements, as the brightness of the heating elements shown in the photos does not correspond to a temperature of 650°C.
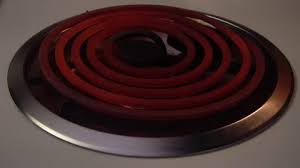
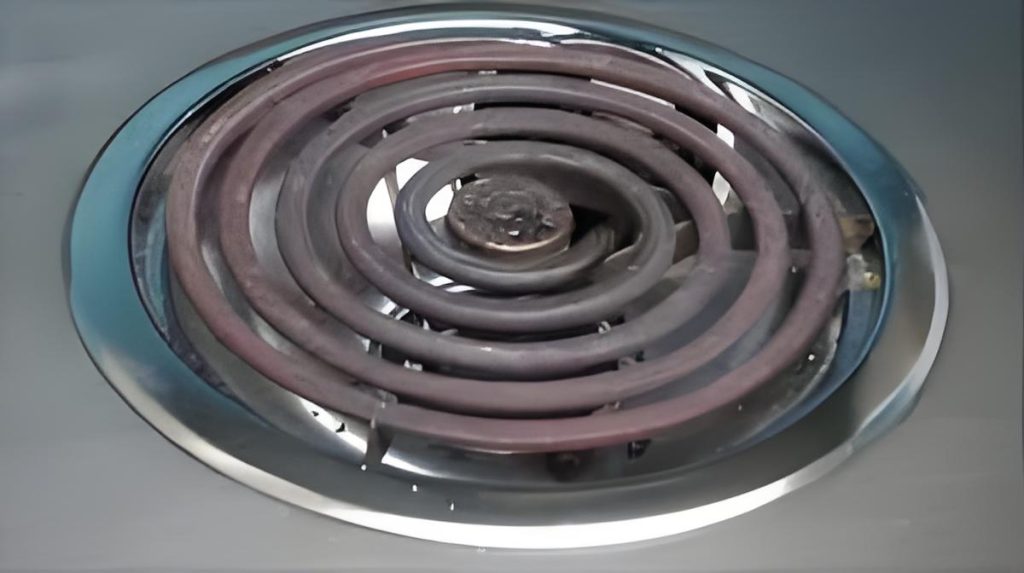
Dark red heating element-1
Dark red heating element-2

Similar Posts

  • 第 3 項 – 「保護インピーダンス」の定義の理解方法

    保護インピーダンス: 通常の使用時および機器の故障の可能性がある状態での電流が安全な値に制限されるように、クラス II 構造の充電部分とアクセス可能な導電部分の間に接続されたインピーダンス。 ケース1:最初のケースは、通常、アダプター駆動の製品など、低電圧電源を必要とする状況です。アダプターの出力電圧はDC12V、DC24V、またはDC5Vです。これらの低電圧部品は、変圧器の変圧と整流器電流の整流によって得られるため、一般にユーザーが触れることができます。したがって、高電圧部分と電圧部分を効果的に絶縁する必要があります。当社の一般的なスイッチング電源基板では、EMC 伝導テストを実施すると、トランスの一次側で発生した干渉が一次側と二次側の間の寄生容量を通過し、150k~30MHz の伝導性干渉が発生して二次側に到達します。ここでは、Y コンデンサを使用して干渉信号を電源に戻し、干渉を相殺するループを形成します。そうしないと、導通テストが不合格になります。ここでの Y コンデンサは保護インピーダンスを形成します。下図の赤いボックスで選択された 2 つの Y コンデンサが保護インピーダンスです。 下図はマイナスイオン発生器の回路図です。赤い四角形で選択された 2 つの抵抗は、一般的な保護インピーダンスです。 下の図のCY1とCY2は保護インピーダンスですか? 規格の定義から、保護インピーダンスは接地が存在するクラス II 構造で使用されます。ここでの接地が保護接地として定義されている場合、保護インピーダンスはクラス II 構造で使用され、ここではクラス I 構造であるため、明らかに CY1 と CY2 を保護インピーダンスとして定義できません。ここでの接地が機能接地として定義されている場合、2 つの問題があります。まず、これはクラス I 構造であるため、CY1 と CY2 は保護インピーダンスとして定義できません。次に、クラス II 構造の場合、CY1 と CY2 を保護インピーダンスとして定義でき、保護インピーダンスの関連要件を満たす必要があります。私の個人的な意見は、CY1 と CY2 は保護インピーダンスではなく、直接基礎絶縁とみなしてよいと考えています。結局のところ、回路図に示されている設計は規格に受け入れられないということでしょうか?そしてnbsp; それらが保護インピーダンスである場合、どちらが第 22.42 条「保護インピーダンスは少なくとも 2 つの別個のコンポーネントで構成されなければならない」に準拠する必要があります。 From the definition of the standard, the…

  • Clause 3 – How to understand the definition of “thermal link”

    thermal link: thermal cut-out which operates only once and requires partial or complete replacement It is a temperature sensing device, but it can only be operated once, when the temperature is higher than its set value, it will disconnect, and after disconnection, the current can not pass through, so as to play the role of…

  • 第 3 条 – 用語と定義: 一般的な解釈

    IEC 60335-1 規格に詳しくないエンジニアにトレーニングを施すとしたら、2 つの方法があると思います。 1 つ目は、文節番号の順序に従って例を挙げて説明する方法です。これは私がよく使用する方法です。 2つ目は、第3条項の各定義に基づいて説明することです。最初にエンジニアが特定の用語の定義を理解できるようにし、次に例を示し、次にこの定義または用語に関する規格のすべての要件の説明を行います。2 番目の方法は、一部の上級エンジニアをトレーニングする場合により有利です。したがって、すべての定義を明確に説明できるよう最善を尽くしたいと思います。ここで私が伝えたいのは、定義は非常に重要であり、規格が異なれば同じ用語の定義も異なる場合があり、混乱を避けるために読者は注意深く把握する必要があるということです。

  • Clause 3 – How to understand the definition of “fixed appliance”

    fixed appliance: appliance that is intended to be used while fastened to a support or while secured in a specific location. The definition emphasizes fastening to a bracket or fixing in a specific position. Generally, we think that this kind of fixation requires some installation actions and some fixing devices, these devices can be fixed…

  • 第 3 項 – 「供給コード」の定義の理解方法

    供給コード: アプライアンスに固定されている、供給目的のフレキシブル コード 一般的に言えば、ほとんどの国には、電源コードに対する独自の必須の安全性および性能試験基準があります。ここでの電源コードは、3.2.1 項の電源リード線に関連して認定された電源コードです。ほとんどの国では、プラグが耐えられる最大電流は 16A です。電流がこの値を超える場合、プラグは使用されず、電源コードが固定配線に直接接続されます。ここでの電源コードとは、プラグのないコードの部分を指します。 下の写真は電源コードではなく、コードセットを示しています。 下の写真はプラグ付き電源コードです

  • 第3項「補助絶縁」の定義の見方

    補助絶縁:基礎絶縁が切れた場合に感電を防ぐために、基礎絶縁とは別に施される独立した絶縁 基礎断熱材の外側にあり、基礎断熱材から独立しており、通常はユーザーがアクセスできる断熱材。補助絶縁はその名のとおり追加的なものであり、基礎絶縁に追加する絶縁を指します。これには、この規格の基本原則、つまり二重保護の原則が関係します。いかなる危険に対しても、少なくとも 2 層または 2 セットの保護措置を講じる必要があります。いずれかの保護手段が失敗した場合でも、アプライアンスは別の保護層によって保護されます。ここでの追加絶縁の要件は、基礎絶縁が機能しなくなった場合に保護の役割を果たすことができる絶縁を考慮することです。ここでの保護は充電部の保護のみを目的としています。この規格の他の要件には、非充電部分に対する二重保護措置の要件が含まれます。 下図に示すように、基礎絶縁体の外表面(ここでは内部電線の電線被覆の外表面、またはスイッチのプラスチック材料表面と理解してください)から絶縁可能な箇所まで使用者が触れる部分(機器の底カバーや側面シェル)は、写真例から、機器の底カバーや側面シェルが補助絶縁材であると判断できます。これに対応して、サイドシェル内面に沿った内部リード線シースから外部ユーザーが触れる可能性のある場所までの沿面距離を補助絶縁とし、内部基礎絶縁からの最短直線距離と定義できます。空気を通って外部ユーザーが触れる可能性のある場所までの距離を補助絶縁クリアランスとして定義できます。ここでいうクリアランスとは、一般的にボトムシェルとサイドシェルの間の隙間を指します。